Modern data architectures often require combining specialized platforms to achieve optimal results. When properly integrated, Snowflake’s cloud-native data warehousing and Microsoft Fabric’s comprehensive analytics capabilities form a particularly powerful pairing.
The connection between these platforms enables businesses to maintain Snowflake as their central data repository while utilizing Fabric’s robust transformation and visualization tools. When implemented correctly, this integration supports real-time analytics and enhanced governance across the entire data lifecycle.
By the end of this guide, you’ll have a fully functional integration that leverages the strengths of both platforms, enabling more robust data workflows without compromising security or efficiency.
Why Integrate Snowflake with Microsoft Fabric?
Integrating Snowflake with Microsoft Fabric provides several advantages for businesses looking to enhance their data architecture and analytics capabilities. Here are some of the key reasons why this integration is valuable:
1. Unified Data Management
Snowflake excels at data warehousing, providing a scalable, cloud-based solution for storing and querying large datasets. Microsoft Fabric, on the other hand, offers powerful tools for data engineering, analytics, and machine learning. By connecting the two, organizations can create a unified platform that consolidates data management and analytics into one ecosystem.
2. Improved Data Accessibility
Integrating Snowflake with Microsoft Fabric makes it easier to access and process large volumes of data in real time. Microsoft Fabric’s Data Factory allows for smooth data pipeline creation, which enables users to automate and orchestrate data workflows directly from Snowflake. This helps reduce manual data handling and speeds up decision-making processes.
3. Enhanced Analytics and Insights
Snowflake’s data storage and querying capabilities, combined with Microsoft Fabric’s advanced analytics tools, allow businesses to extract deeper insights from their data. Whether it’s performing complex data transformations, running machine learning models, or generating business intelligence reports, this integration empowers teams to perform high-level analysis with ease.
4. Cost and Performance Optimization
By connecting Snowflake’s scalable data storage to Microsoft Fabric’s efficient processing capabilities, organizations can optimize both cost and performance. Snowflake’s pay-as-you-go model for storage and compute resources, coupled with Fabric’s flexible processing environment, ensures that businesses only pay for what they use while maintaining optimal performance.
5. Seamless Collaboration
The integration facilitates seamless collaboration across departments, as both Snowflake and Microsoft Fabric provide easy-to-use interfaces and shared access to data pipelines. This ensures that data engineers, analysts, and other stakeholders can work together more effectively and make data-driven decisions quickly.
By integrating Snowflake with Microsoft Fabric, businesses can significantly enhance their data operations, improving both the speed and quality of their analytics, while optimizing costs and resources. This powerful combination helps unlock new opportunities for growth and innovation.
Prerequisites for Connecting Snowflake to Microsoft Fabric
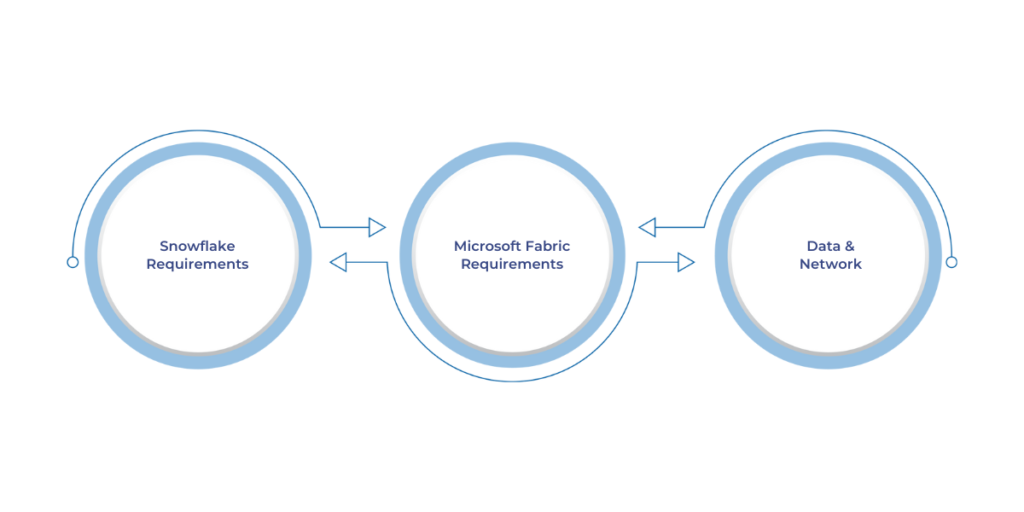
To ensure smooth integration between Snowflake and Microsoft Fabric, the following prerequisites must be met:
1. Snowflake Requirements
- User must have ACCOUNTADMIN or SYSADMIN role to create integrations.
- A dedicated virtual warehouse must be configured for compute purposes.
- Key-pair authentication or OAuth 2.0 should be set up for secure connectivity.
- Network policies must be adjusted to allow Microsoft Fabric’s IP addresses if they are restricted.
2. Microsoft Fabric Requirements
- Active subscription and admin permissions are required to create and manage data pipelines.
- Fabric capacity of F64 or higher is recommended for handling large datasets.
- The Snowflake connector must be configured within Fabric’s Data Factory for proper data connectivity.
3. Data and Network
- Ensure that schema and table names are documented, as Fabric requires explicit object references.
- To optimize performance, avoid using SELECT * queries and instead use column-level permissions where possible.
4. Tooling
- Ensure you are using Power BI Desktop version November 2023 or later for DirectQuery compatibility.
Meeting these prerequisites will ensure that both Snowflake and Microsoft Fabric are properly configured for seamless data integration.
Steps to Load Data from Snowflake to Microsoft Fabric
Loading data from Snowflake into Microsoft Fabric involves a series of crucial steps that ensure seamless data transfer, proper transformation, and integration within your system. These steps span from initial workspace setup to building meaningful reports, all aimed at creating an effective data pipeline. Below is a detailed, structured approach to ensure the integration process is both smooth and efficient.
Step 1: Set Up a New Workspace in Microsoft Fabric
The first step in this process is to set up a new workspace in Microsoft Fabric. Begin by navigating to the Workspace section within the Microsoft Fabric interface and create a new workspace dedicated to your project or data workflow. It is important to assign a name to the workspace that reflects its purpose or the specific data integration task it will serve.
This workspace will function as your primary environment where all data integration activities will take place. By creating a separate workspace, you ensure that your data workflows are organized and can be easily managed, with clear boundaries between various projects.
Step 2: Create a Data Warehouse for Destination
Once your workspace is set up, the next step is to create a Data Warehouse. Within the newly created workspace, click on New, and under the Data Engineering section, select the option to create a Data Warehouse. A data warehouse is essential as it serves as the destination for your data transfer from Snowflake.
After selecting the warehouse option, you will be prompted to give the warehouse a suitable name that aligns with your project’s naming convention. This data warehouse will store and process all the data you are transferring from Snowflake, providing a secure and optimized environment for subsequent data analysis.
Step 3: Create a Lakehouse
For use cases that require managing both structured and unstructured data, setting up a Lakehouse may be necessary. A lakehouse is a combination of data lake and data warehouse capabilities, enabling the storage of raw data while still offering the ability to perform transformations and analysis.
To set up a Lakehouse, return to your workspace, click New, and select Lakehouse under the Data Engineering section. Name your lakehouse based on your project’s requirements. The Lakehouse will serve as an additional storage destination where raw or semi-structured data can be processed before being moved into a more structured data warehouse for analysis.
Read Also: Data Lakehouse Vs. Data Warehouse: Key Differences
Step 4: Set Up Dataflow
Next, you will set up a Dataflow within your workspace to facilitate the movement of data from Snowflake to Microsoft Fabric. Go to your workspace and click New, then choose Dataflow Gen2 under the Data Factory section.
Dataflows are the heart of the data pipeline in Fabric, and this step will establish the mechanism for transferring your data between platforms. By selecting Dataflow Gen2, you are opting for a more advanced version of the Dataflow service, which offers enhanced performance and flexibility for data transfer tasks.
Step 5: Load Data from Snowflake
After creating your Dataflow, open it and navigate to the Power Query window. Here, click on Get Data and use the search bar to search for Snowflake as your data source. Once selected, a prompt will appear asking you to enter the required credentials for your Snowflake Database.
You will need to provide details such as your Server, Warehouse, Username, and Password to establish the connection between Snowflake and Microsoft Fabric. In addition, you must specify your Role within Snowflake to ensure you can access the appropriate schema and databases for data extraction.
Step 6: Choose Tables and Transform Data
After successfully logging into Snowflake, you will be prompted to select the Database and Schema that contain the data you wish to load. Once the database is selected, the tables within that schema will appear in the Power Query window. From here, you can choose the specific tables you want to load into Microsoft Fabric.
If necessary, you can perform transformations on the selected tables before loading them into Fabric. Common transformations include removing duplicates, adding custom columns, or applying calculations to ensure that the data is clean, consistent, and formatted according to your project needs.
Step 7: Set Data Destination
Once the data transformation process is complete, it is important to set the Destination for each table. Navigate to the Data Destination settings icon within the Power Query window and select the Warehouse that you created earlier in Step 2 as the destination.
You will also be given the option to modify the data types of the columns if necessary. If no adjustments are required, you can simply click Save Settings to finalize the data load process. The data will then be securely transferred into your data warehouse.
Step 8: Create a Data Model
After successfully loading all the necessary tables into the data warehouse, the next step is to create a Data Model. Go to the Workspace and select the Warehouse that contains the data you have just loaded. You will now be able to view all the tables within the warehouse. To begin building your data model, click on the Model tab.
This step involves defining relationships between the tables, ensuring that they are appropriately connected to support your reporting and analytics needs. A well-structured data model is crucial for effective data analysis and reporting.
Step 9: Build a Power BI Report
Finally, once the data model is set up and the tables are connected, you can begin creating meaningful insights and visualizations. Navigate to the Data tab and select New Report. This will open the Power BI report editor, where you can design your report based on the data you’ve loaded and modeled within Microsoft Fabric.
Power BI allows you to create dynamic, interactive reports and dashboards that present data in a way that is visually appealing and easy to interpret. These reports can be shared with key stakeholders to help drive informed business decisions.
By following these steps, you will successfully load and integrate data from Snowflake into Microsoft Fabric, ensuring that your data is properly transformed, stored, and available for detailed analysis and reporting. This integration will enable more efficient data management, foster collaboration across teams, and provide deeper insights that can help guide strategic decisions within your organization.
Must Read: Turning Data into Business Insights with Power BI
Wrapping up
Integrating Snowflake with Microsoft Fabric provides a powerful combination for organizations looking to optimize their data workflows, improve analytics capabilities, and drive more informed decision-making.
By following the outlined steps from setting up your workspace to creating dataflows, transforming data, and building meaningful reports, you can ensure a seamless transfer and transformation of data from Snowflake into Microsoft Fabric.
With this robust setup in place, businesses can harness the power of Snowflake’s scalable data storage and the advanced capabilities of Microsoft Fabric to create a unified, efficient, and future-ready data ecosystem. Whether you’re managing structured data or a mix of raw and processed information, this integration positions your organization for success in a data-driven world.
If you’re ready to take your data capabilities to the next level with Snowflake and Microsoft Fabric, WaferWire is here to help. Our team can assist with the entire integration process, ensuring everything runs smoothly from start to finish. Contact us today for a free consultation and let us help you unlock the full potential of your data infrastructure.