.png)


Thank you! Your submission has been received!
Oops! Something went wrong while submitting the form.

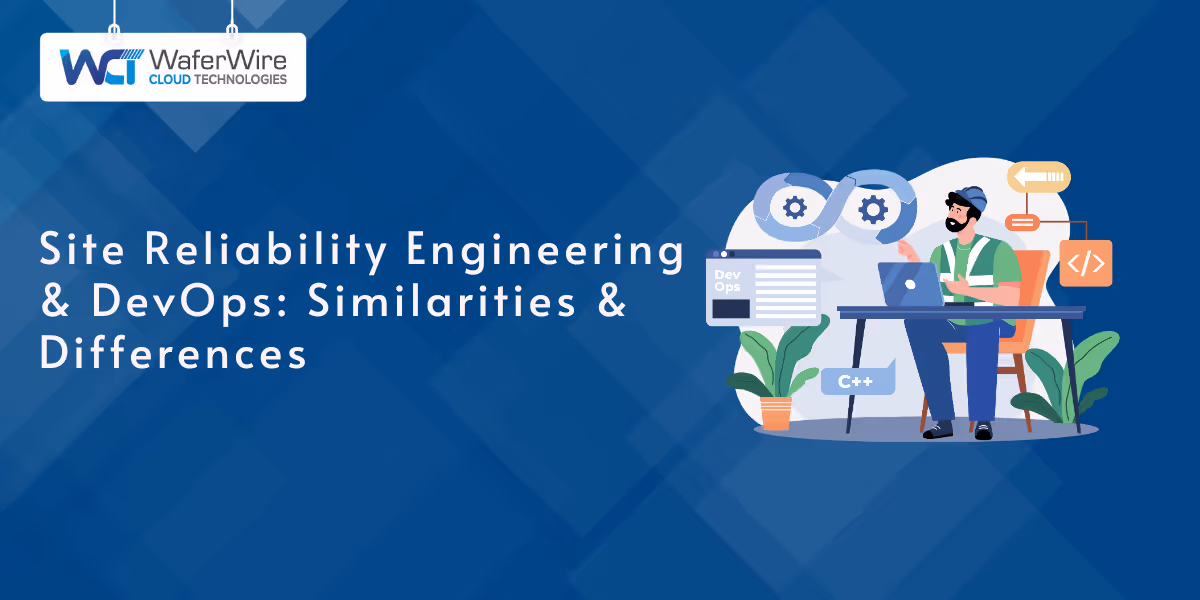
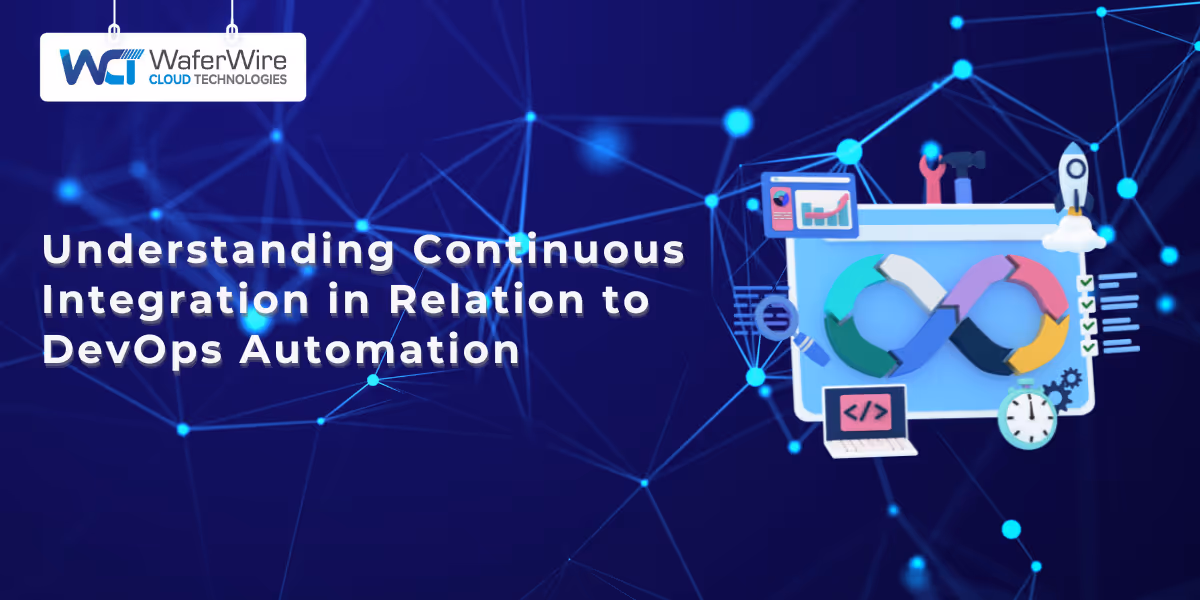
Continuous Integration (CI) is a software development practice where developers frequently commit code changes to a shared repository. This practice helps detect issues early, fosters collaboration, and accelerates the delivery of high-quality software.
By automating critical stages like building, testing, and deployment, CI ensures code stability and readiness for deployment, reducing manual effort and improving overall software quality.
In this article, we explore the key steps in the Continuous Integration process and discuss tools and best practices for maintaining a seamless CI pipeline.
To fully understand the steps for continuous integration, it's essential to begin by examining the concept itself.
Continuous Integration refers to the practice of regularly committing code changes into a central repository, often multiple times a day. Each commit triggers an automated build and test process, allowing teams to detect integration issues early.
CI aims to improve code quality by promoting frequent integration, reducing integration problems, and ensuring the software is always in a deployable state. This approach helps teams deliver software faster with fewer bugs.
Following this foundational understanding of CI, it's important to recognize the critical roles CI plays within broader methodologies such as DevOps and Agile.
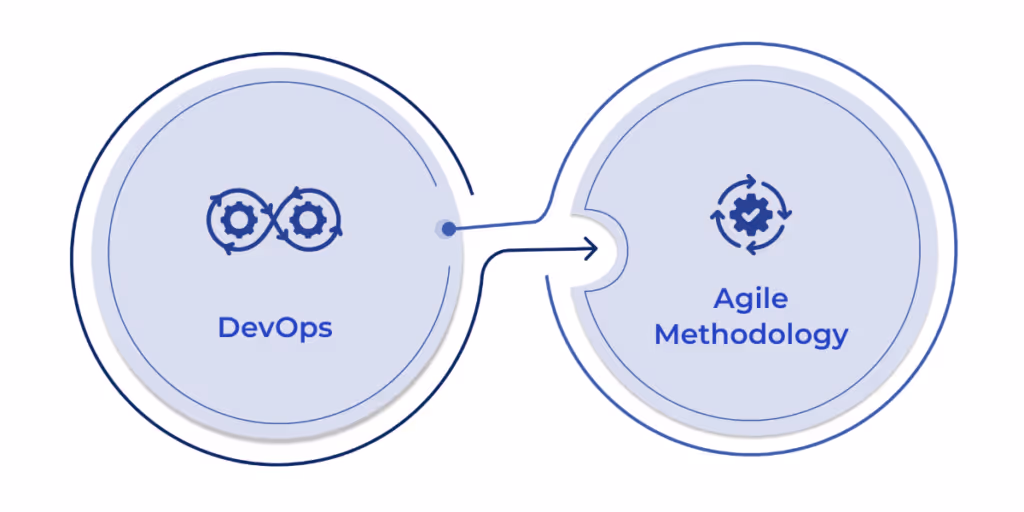
CI plays a vital role in both DevOps and Agile methodologies by promoting efficient, fast, and iterative development cycles.
With a clear view of CI’s role in these methodologies, the next step is to explore how CI facilitates synchronization and early bug detection, both of which are crucial to maintaining high-quality software.
CI promotes code synchronization, ensuring that all team members work with the latest version of the codebase. This prevents integration issues that can arise when merging conflicting changes later in the development cycle.
Additionally, CI helps with early bug detection by running automated tests after each code change, reducing debugging time and minimizing the risk of critical issues reaching production.
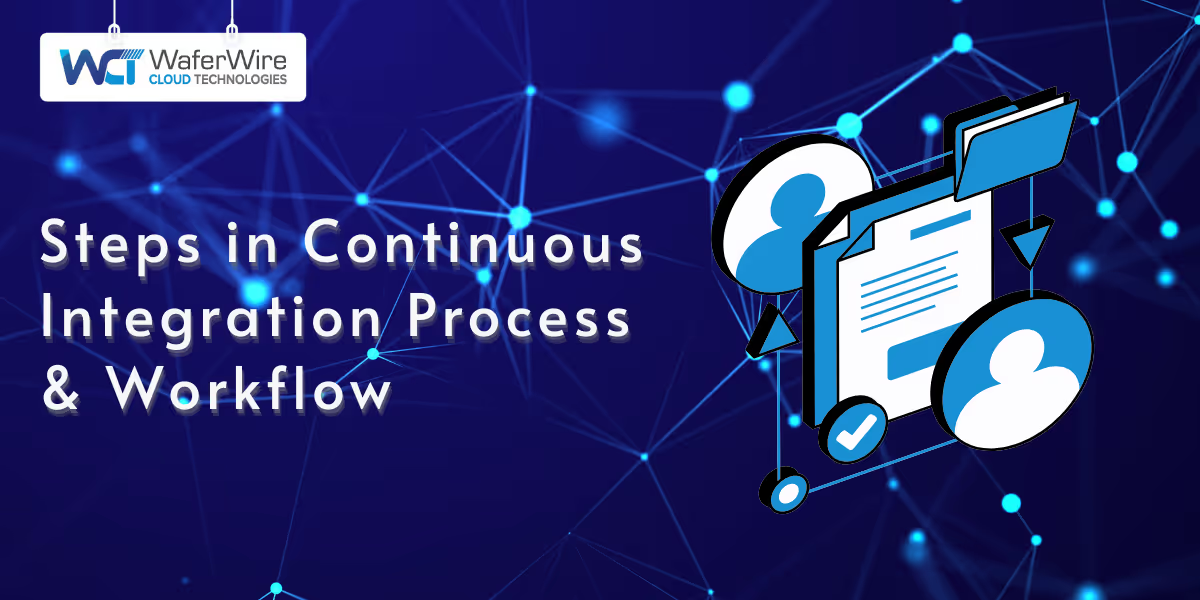
Once the foundational elements of CI are understood, it's time to dive into the practical side of CI—the workflow itself. Let's explore the key steps involved in a Continuous Integration process.
The CI workflow consists of several stages that automate the process of integrating, testing, and validating code changes:
The build stage is where the source code is compiled or packaged. The CI server fetches the latest changes from the repository and attempts to compile the code. If the build fails, it indicates an integration problem, such as missing dependencies or incorrect configurations. A successful build signals that the code is ready for testing.
After the code is compiled, unit tests are run to validate individual components. Next, integration tests check that various components of the software work together as intended. This ensures that both individual code units and the integrated system function correctly.
Code coverage analysis measures the percentage of the code covered by automated tests. This step helps identify areas of the code that are under-tested, allowing developers to improve test coverage and reduce the likelihood of bugs.
Static code analysis tools inspect the code for quality issues, security vulnerabilities, and adherence to coding standards. Tools like SonarQube, ESLint, or Checkstyle help detect potential problems early, improving overall code quality and maintainability.
Notifications are crucial to inform developers about the status of the build and test processes. When a build or test fails, developers are alerted immediately so they can address the issue without delay. Notifications can be sent via email, messaging apps (eg., Slack), or directly within the CI tool.
As the test suite grows, running all tests sequentially can become time-consuming. Parallelizing tests, where tests are run simultaneously on different machines or containers, can significantly reduce overall test execution time, improving the efficiency of the CI pipeline.
After understanding these steps, the next logical progression is to discuss how Continuous Integration can be implemented in a real-world scenario, ensuring that all processes are automated and efficient.
Also Read: Understanding How a CI Server Works in DevOps
Successful CI implementation requires the right tools and infrastructure. Here’s how to implement CI effectively:
Setup Requirements:
Building on this, once CI is implemented, it can be taken a step further with Continuous Deployment (CD) to streamline the software delivery pipeline even more.
When combined with Continuous Deployment (CD), CI automates the entire software delivery pipeline, ensuring faster and more reliable delivery from development to production.
Steps to Add Continuous Deployment to CI:
As CD enhances CI, choosing the right CI tools becomes even more crucial for success. Therefore, it's important to explore the various options available and their benefits.
Also Read: Understanding CI/CD Practices for DevOps Success
The success of CI depends on choosing the right tools and following best practices. Here’s a comparison of popular CI tools and some guidelines for their use:
There are several CI tools available, each offering unique features and benefits. Here’s a comparison of some of the most widely used CI tools:
ToolKey FeaturesBest Suited ForProsConsJenkinsOpen-source, highly customizable, large plugin ecosystem, supports multiple languages, distributed builds.Teams needing flexibility and extensibility.- Large plugin ecosystem- Supports many languages- Highly customizable- Requires more configuration and setup- Can be complex to maintain at scaleTeamCityBuilt by JetBrains, offers built-in support for many tools, detailed build history, easy integration with IDEs.Teams using IntelliJ IDEA or JetBrains tools.-Out-of-the-box support for several tools- Good UI- Great integration with JetBrains IDEs- Can be expensive for larger teams- Limited plugin support compared to JenkinsBambooDeveloped by Atlassian, integrates well with Jira and Bitbucket, supports parallel builds and deployment pipelines.Teams using other Atlassian tools (Jira, Bitbucket).- Strong integration with Atlassian tools- Great for teams already using Jira and Bitbucket- Easy UI- Can be costly for larger teams- Limited plugin ecosystem compared to JenkinsTravis CIHosted CI service, integrates easily with GitHub, great for open-source projects.Open-source projects and GitHub users.- Easy to set up for GitHub projects- Free for open-source projects- Supports multiple languages- Limited customization compared to self-hosted tools- Less suitable for large enterprise needsCircle CICloud-native, integrates easily with GitHub and Bitbucket, fast performance, parallelism support.Teams needing cloud-native CI/CD solutions.- Fast execution time- Cloud-native- Free tier available for small teams- Easy to scale- Can get expensive as usage scales- Some advanced features require a paid plan
With these tools in mind, it's essential to follow best practices to maximize the effectiveness of your CI pipeline.
Following best practices helps to ensure a smooth workflow and collaboration throughout the CI process.
A key principle of CI is maintaining a centralized source repository to ensure smooth collaboration and testing. Here are some of the best practices for managing code in a single repository:
With these best practices in mind, the next section explores the many benefits of adopting Continuous Integration, demonstrating how CI can transform the development process.
Despite the clear benefits, the implementation of CI does come with certain challenges, which we will now explore.
Also Read: The Critical Role of DevSecOps in CI/CD Security
Having discussed these challenges, the final section will cover key metrics to track and monitor in order to optimize your CI process.
Effective tracking of CI metrics helps evaluate pipeline performance and identify bottlenecks:
Continuous Integration is a fundamental practice that enhances collaboration, improves software quality, accelerates release cycles, and reduces the risk of integration issues. By adopting CI, selecting the right tools, and fostering a culture of collaboration, organizations can streamline development processes and deliver software that meets market demands more efficiently.
To take your Continuous Integration process to the next level, consider partnering with WaferWire for expert guidance and solutions.
Our cutting-edge tools and services can help you implement and optimize your CI pipeline, ensuring smooth integration and faster delivery cycles.
Visit WaferWire today to learn how we can accelerate your software development process and enhance code quality.


Continuous Integration (CI) is a software development practice where developers frequently commit code changes to a shared repository. This practice helps detect issues early, fosters collaboration, and accelerates the delivery of high-quality software.
By automating critical stages like building, testing, and deployment, CI ensures code stability and readiness for deployment, reducing manual effort and improving overall software quality.
In this article, we explore the key steps in the Continuous Integration process and discuss tools and best practices for maintaining a seamless CI pipeline.
To fully understand the steps for continuous integration, it's essential to begin by examining the concept itself.
Continuous Integration refers to the practice of regularly committing code changes into a central repository, often multiple times a day. Each commit triggers an automated build and test process, allowing teams to detect integration issues early.
CI aims to improve code quality by promoting frequent integration, reducing integration problems, and ensuring the software is always in a deployable state. This approach helps teams deliver software faster with fewer bugs.
Following this foundational understanding of CI, it's important to recognize the critical roles CI plays within broader methodologies such as DevOps and Agile.
CI plays a vital role in both DevOps and Agile methodologies by promoting efficient, fast, and iterative development cycles.
With a clear view of CI’s role in these methodologies, the next step is to explore how CI facilitates synchronization and early bug detection, both of which are crucial to maintaining high-quality software.
CI promotes code synchronization, ensuring that all team members work with the latest version of the codebase. This prevents integration issues that can arise when merging conflicting changes later in the development cycle.
Additionally, CI helps with early bug detection by running automated tests after each code change, reducing debugging time and minimizing the risk of critical issues reaching production.
Once the foundational elements of CI are understood, it's time to dive into the practical side of CI—the workflow itself. Let's explore the key steps involved in a Continuous Integration process.
The CI workflow consists of several stages that automate the process of integrating, testing, and validating code changes:
The build stage is where the source code is compiled or packaged. The CI server fetches the latest changes from the repository and attempts to compile the code. If the build fails, it indicates an integration problem, such as missing dependencies or incorrect configurations. A successful build signals that the code is ready for testing.
After the code is compiled, unit tests are run to validate individual components. Next, integration tests check that various components of the software work together as intended. This ensures that both individual code units and the integrated system function correctly.
Code coverage analysis measures the percentage of the code covered by automated tests. This step helps identify areas of the code that are under-tested, allowing developers to improve test coverage and reduce the likelihood of bugs.
Static code analysis tools inspect the code for quality issues, security vulnerabilities, and adherence to coding standards. Tools like SonarQube, ESLint, or Checkstyle help detect potential problems early, improving overall code quality and maintainability.
Notifications are crucial to inform developers about the status of the build and test processes. When a build or test fails, developers are alerted immediately so they can address the issue without delay. Notifications can be sent via email, messaging apps (eg., Slack), or directly within the CI tool.
As the test suite grows, running all tests sequentially can become time-consuming. Parallelizing tests, where tests are run simultaneously on different machines or containers, can significantly reduce overall test execution time, improving the efficiency of the CI pipeline.
After understanding these steps, the next logical progression is to discuss how Continuous Integration can be implemented in a real-world scenario, ensuring that all processes are automated and efficient.
Also Read: Understanding How a CI Server Works in DevOps
Successful CI implementation requires the right tools and infrastructure. Here’s how to implement CI effectively:
Setup Requirements:
Building on this, once CI is implemented, it can be taken a step further with Continuous Deployment (CD) to streamline the software delivery pipeline even more.
When combined with Continuous Deployment (CD), CI automates the entire software delivery pipeline, ensuring faster and more reliable delivery from development to production.
Steps to Add Continuous Deployment to CI:
As CD enhances CI, choosing the right CI tools becomes even more crucial for success. Therefore, it's important to explore the various options available and their benefits.
Also Read: Understanding CI/CD Practices for DevOps Success
The success of CI depends on choosing the right tools and following best practices. Here’s a comparison of popular CI tools and some guidelines for their use:
There are several CI tools available, each offering unique features and benefits. Here’s a comparison of some of the most widely used CI tools:
ToolKey FeaturesBest Suited ForProsConsJenkinsOpen-source, highly customizable, large plugin ecosystem, supports multiple languages, distributed builds.Teams needing flexibility and extensibility.- Large plugin ecosystem- Supports many languages- Highly customizable- Requires more configuration and setup- Can be complex to maintain at scaleTeamCityBuilt by JetBrains, offers built-in support for many tools, detailed build history, easy integration with IDEs.Teams using IntelliJ IDEA or JetBrains tools.-Out-of-the-box support for several tools- Good UI- Great integration with JetBrains IDEs- Can be expensive for larger teams- Limited plugin support compared to JenkinsBambooDeveloped by Atlassian, integrates well with Jira and Bitbucket, supports parallel builds and deployment pipelines.Teams using other Atlassian tools (Jira, Bitbucket).- Strong integration with Atlassian tools- Great for teams already using Jira and Bitbucket- Easy UI- Can be costly for larger teams- Limited plugin ecosystem compared to JenkinsTravis CIHosted CI service, integrates easily with GitHub, great for open-source projects.Open-source projects and GitHub users.- Easy to set up for GitHub projects- Free for open-source projects- Supports multiple languages- Limited customization compared to self-hosted tools- Less suitable for large enterprise needsCircle CICloud-native, integrates easily with GitHub and Bitbucket, fast performance, parallelism support.Teams needing cloud-native CI/CD solutions.- Fast execution time- Cloud-native- Free tier available for small teams- Easy to scale- Can get expensive as usage scales- Some advanced features require a paid plan
With these tools in mind, it's essential to follow best practices to maximize the effectiveness of your CI pipeline.
Following best practices helps to ensure a smooth workflow and collaboration throughout the CI process.
A key principle of CI is maintaining a centralized source repository to ensure smooth collaboration and testing. Here are some of the best practices for managing code in a single repository:
With these best practices in mind, the next section explores the many benefits of adopting Continuous Integration, demonstrating how CI can transform the development process.
Despite the clear benefits, the implementation of CI does come with certain challenges, which we will now explore.
Also Read: The Critical Role of DevSecOps in CI/CD Security
Having discussed these challenges, the final section will cover key metrics to track and monitor in order to optimize your CI process.
Effective tracking of CI metrics helps evaluate pipeline performance and identify bottlenecks:
Continuous Integration is a fundamental practice that enhances collaboration, improves software quality, accelerates release cycles, and reduces the risk of integration issues. By adopting CI, selecting the right tools, and fostering a culture of collaboration, organizations can streamline development processes and deliver software that meets market demands more efficiently.
To take your Continuous Integration process to the next level, consider partnering with WaferWire for expert guidance and solutions.
Our cutting-edge tools and services can help you implement and optimize your CI pipeline, ensuring smooth integration and faster delivery cycles.
Visit WaferWire today to learn how we can accelerate your software development process and enhance code quality.